Affiliate Disclaimer
Some links in this article are affiliate links. We may earn a small commission if you make a purchase through these links, at no extra cost to you. We only recommend products we find useful to our readersWomen are preoccupied with taking care of their nails but a majority of them neglect to push back cuticles. While you might think it is a tiny aspect around your nails, it does have its importance and can be damaging if it is not taken care of.
Hygiene of your cuticles is a must and it is essential that it is moisturized time and again. Otherwise, it can look and feel shabby on your nails. The right time to take care of your cuticles is when you go for a manicure.
In this article, you will get to learn about why is it important to push back your cuticles and the steps on how to push back the cuticles. Learn it and move towards taking good care of your nails.
Read: Natural Nail Care Tips for Healthy and Beautiful Nails
Why Do You Need to Push Back Your Cuticles
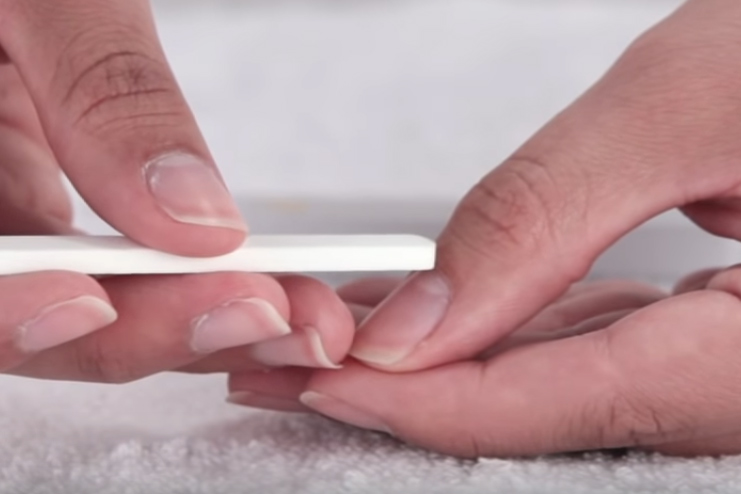
The reasons as to why you should push back your cuticles are simple. Take a look at them
- To make your nails look neat and maintained
- To keep your cuticles moisturized
- To protect your cuticles from getting infected
Since you know for the little reasons your cuticles need to be pushed back, take good care of your cuticles and maintain hygiene.
Everything You Should Know About Keeping Your Cuticles Safe
If you have a thought process of taking good care of your cuticles, you are on the right path.
There are certain things you should know about safeguarding your cuticles so that you do not put yourself into unnecessary trouble. Take at the points mentioned below
1 – Always Keep your Nails Moisturized
Dry cuticles look bad around your nails, thus, keep it moisturized by applying a cuticle oil every night or you can massage your fingers with a few drops of conditioner.
2 – Never Cut Back Your Cuticles
It is essential that your cuticles surround your nails as it is a layer of protection. Cutting cuticles can lead to different complications which you do not want.
3 – Be Watchful With Your Cuticles
Whenever you get a manicure done, see to it that the cuticles are not scrapped hard or cut.
If you see something going wrong, you can always let the person know or instruct them on how you want it done.
4 – Use The Right Stick To Push The Cuticles
If you want to be safe with your cuticles it is better to go with wood material sticks, never use metal sticks. Reason being, you would have higher chances of getting infected if you used metal and your cuticles might end up breaking.
5 – Push Back Your Cuticles At The Right Time
How would you gauge the right time to push back your cuticles? You would figure that out by noticing the condition of your cuticles, if you think it is too dry then you cannot risk pushing back your cuticles. When you are confident that your cuticles are moisturized, that’s the right time to push back your cuticles.
6 – A Tip For Cuticle Care
Whenever you are involved with cleaning your home, it is important that you keep your fingers covered with gloves, so that no bacterial infection can cause harm to your nails.
7 – Avoid Pulling The Extra Layer Of Skin
Did you ever notice? At times, little extra skin grows around your cuticles. Never pull them abruptly. It is the best to let it stay, however, if you think it is too odd on your fingers then you can gently pull it out only on one condition that your fingers should not be dry and it is better to keep that skin covered.
8 – Use The Right Product To Pull
It is always good to take care of the tools that you use for your skin. Having said, to remove the extra hair around your cuticles you would need a tool named cuticle nipper.
It is important that you use a sharp cuticle nipper so that the extra skin around your cuticles comes out at once, otherwise, it can be extremely painful on your skin if you use a blunt nipper.
How To Push Back Cuticles
There are two ways of pushing back cuticles
- With Tools
- Without Tools
Learn the steps of how to push back cuticles with and without tools
Steps To Push Back Cuticles With Tools
The reason for using tools to push back cuticles is because it happens faster and more effectively. Follow the below-mentioned steps
Step 1 – Clean Your Nails
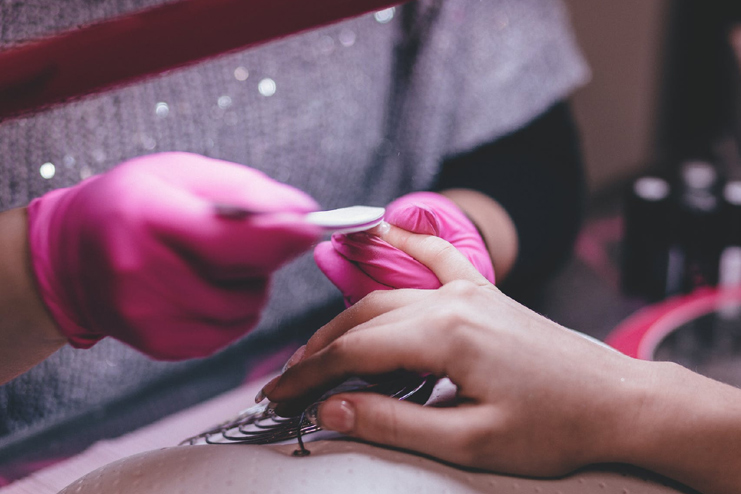
Cleaning your nails means getting rid of nail polish on your nails. The reason this step cannot be skipped is that the chemicals present in the nail polish can go and settle in your nail beds, it is not good for your cuticle skin as it can cause infections.
Few points to keep in mind
- Do not over apply the remover on your nails
- Always choose to apply an acetone-free remover because acetone is a harsh liquid and it does not do a smooth job in removing the nail polish from your nails, it can make your nails rough
Read: How To Remove Nail Polish Without Nail Polish Remover
Step 2 – Provide Warmth To Your Cuticles
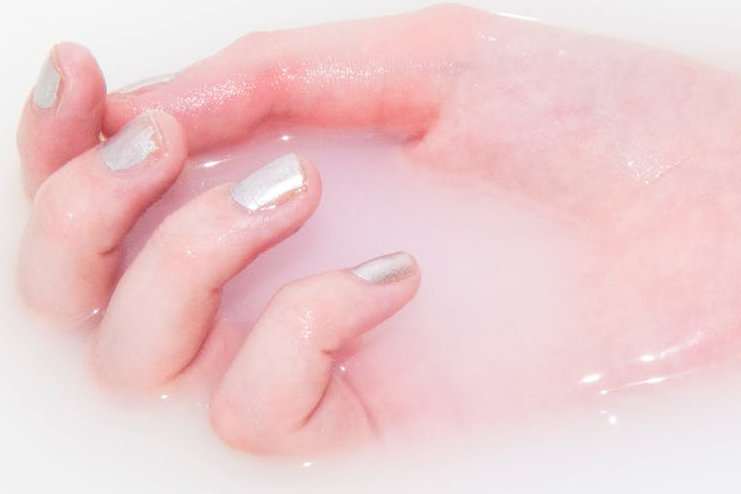
Once you get rid of the nail polish from your nails you need to pamper your nails and cuticles even further. How would you do that? Before you start the process, it is better to apply a few drops of olive oil on your nails and gently massage it, then, take a bowl, add lukewarm water in it, if you want you can add a few drops of lemon juice as well. Dip your fingers in that bowl and let it remain there for about 8-10 minutes. You will feel absolutely relaxed on your nails.
Why do this step?
The reason you soak your nails and cuticles in water is to fasten the process of pushing back your cuticles and this ends up softening your nails.
Step 3 – Wipe Your Nails

Once you are done soaking your hands in water, see to it that you gently wipe the water from your fingers. Make sure that the water does not stay on your fingers. You will notice a change in your nails and find it to be softer this time.
Step 4 – Moisturize Your Nails
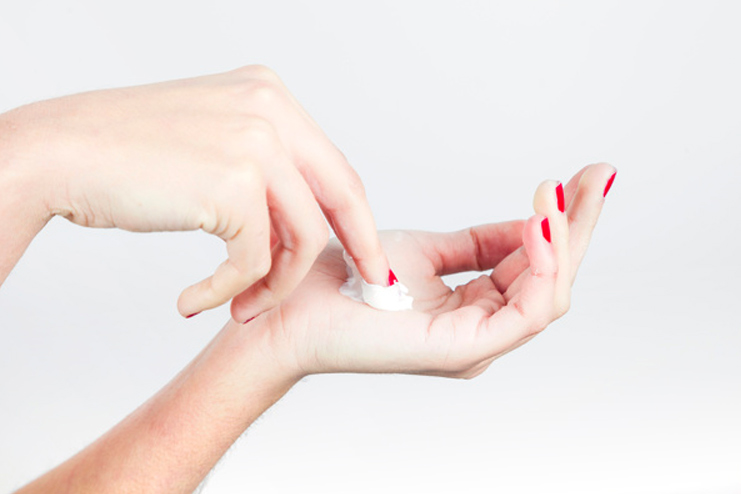
The best practice after cleaning your nails is to moisturize it with a healthy ingredient. Take a few drops of either jojoba oil or olive oil. Apply a drop of it on all your fingernails and gently massage it on your cuticles. Let this oil stay on your nails.
Why do this step?
- To add moisture to dry cuticles
- Also save cuticles from getting infected
- And to make cuticles stronger and good
Step 5 – Use The Tool – Cuticle Pusher!
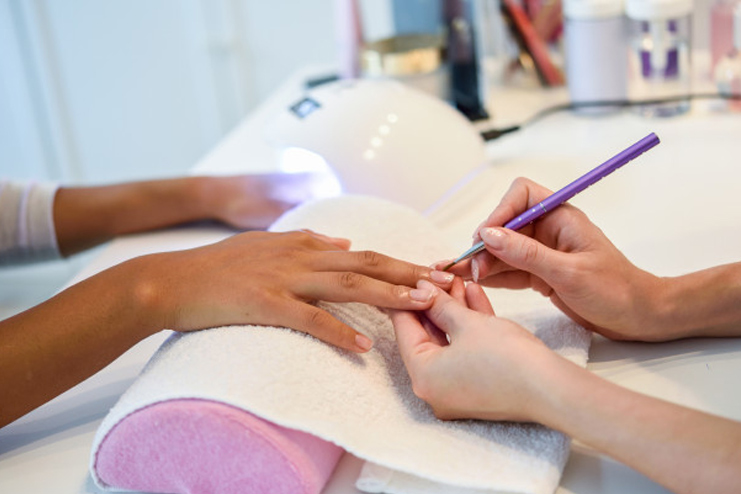
It is time to do the main task of pushing back your nails by using a wooden cuticle pusher. Usually, this cuticle pusher is orange in color.
- Comfortably place your hand on the table and spread your fingers well.
- You know your skin better, by chance if you think your skin is too delicate to take the push of a cuticle, wrap the edge of the cuticle with a piece of cotton.
- Place the cuticle pusher at one edge of the cuticle and start to gently push back your cuticle skin
This step will not just push back your cuticles but it would clean up the dirt around your cuticles as well.
Read: 12 Beauty Hacks For Repairing Damaged Nails
Step 6 – Wipe Your Cuticles With A Wet Cloth
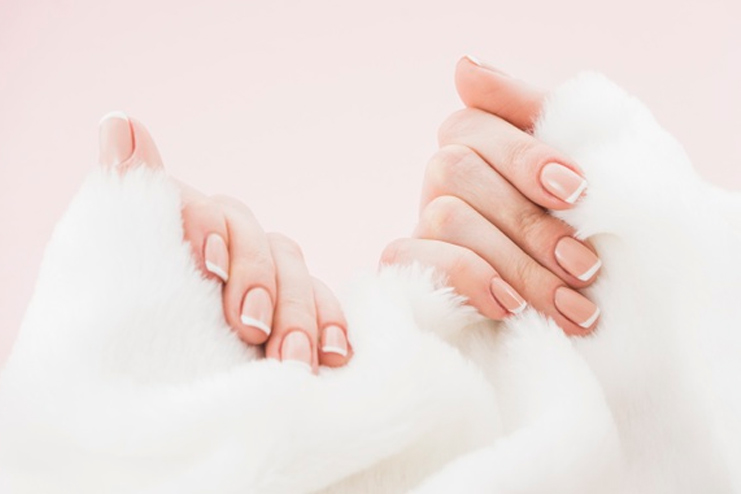
Your cuticles need to feel relieved and relaxed. Take a soft towel, dip it in warm water, squeeze out the water and dab the wet cloth on your cuticles. After a minute or two, slowly wipe your cuticles with the same cloth.
Note: While you are doing this step, make sure that you do not wipe your nails or cuticles too harsh. As much as you can try and be gentle.
Step 7 – Chop Out The Extra Skin Around Your Cuticles
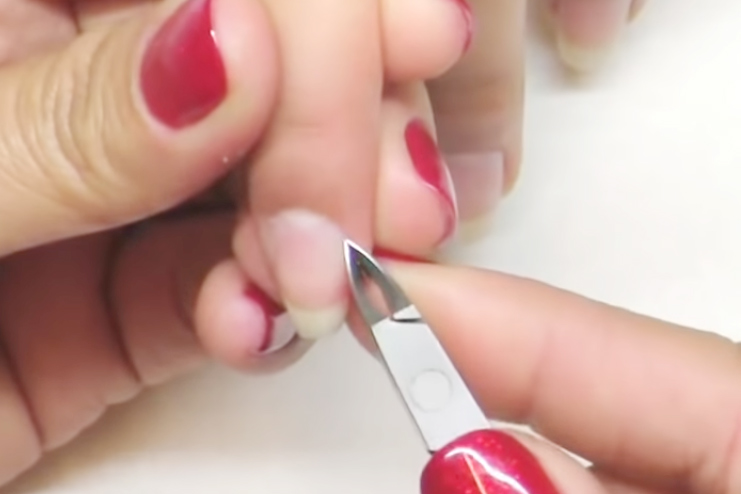
The other name for the extra skin around your cuticles is known as hangnails. If you think you should let your hangnails remain the way it is then it can be problematic and cause pain and a burning sensation around your cuticles, this can get infectious as well. Therefore take a sharp-edged nipper and chop off everything that is extra.
How would you do it? Place the nipper exactly at the edge of the hangnail and quickly pull it out. Watch out all-around your cuticles and pluck out all the hangnails bit by bit. Be gentle but be quick.
Step 8 – Last Wash
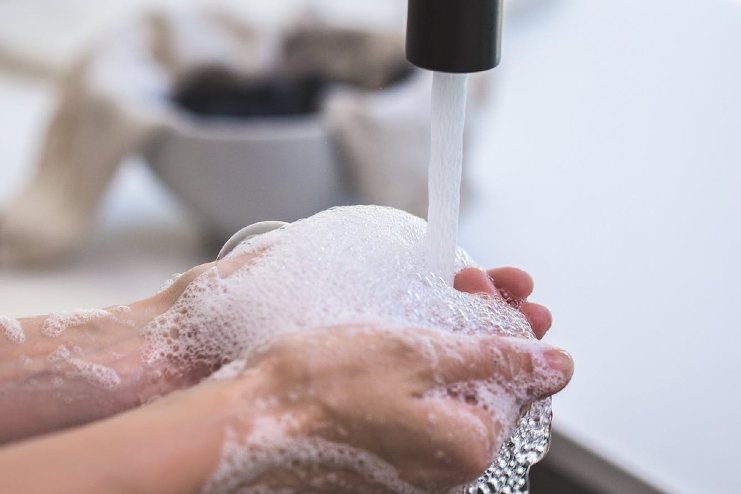
Once you are done with the process of pushing back your cuticles and plucking out hangnails, it is time to clean your fingers well with warm water and soap or you can even soak it in soapy water for a few minutes. Just like how you started with cleaning your nails. Likewise, you must end the procedure by cleaning all the dirt and excess oil that did not get soaked into your cuticles.
Steps To Push Back Cuticles Without Tools
More or less all the steps of pushing back the cuticle would be similar, except for the step where you use a wooden cuticle pusher. Thus, in the case of pushing back the cuticle without a tool, you would need to use your nails. However, you must make sure to be careful in doing so. Take a look at this video to get a better understanding.
Good To Know Tips About Cuticle Care
Undoubtedly, you need to take out time to take care of your nails and cuticles. It is all worth it because nails and cuticles are all yours at the end of the day.
If you are systematic in taking care of them on a daily basis your job of safeguarding the cuticles from infections and dryness goes away. Here are a few useful tips for your cuticles
- It is good to push back your cuticles once a week. If that’s not possible then you should give it attention after every 15 days.
- Regularly moisturizing your cuticles is useful and good for your nails.
- Avoid pulling or scrapping out your cuticles. If you have a habit of biting your nails, it is necessary to get out of this habit because it can affect your cuticles.
All in all, it is all about washing your cuticles, massaging your cuticles with healthy cuticle oil, pushing back the cuticles, and gently plucking out extra hair around the cuticles.
Final Word
- To push back your cuticles it won’t take you long, you can include it as a part of the manicured care.
- You should understand that it is the right time to push back your cuticles when you notice the cuticle look shabby and overgrown.
- You should be careful while you use the cuticle pusher because if you are too harsh on your skin it can turn out to be a painful process as well.
- Make sure to follow hygiene and neatness with your cuticles. Push them back once in a while and make your nails look nice and elegant.
Recommended:
- 15 Ways To Take Care Of Dry Cuticles – Heal Them!
- 15 Ideal Anti Aging Hand Creams To Keep Your Hands Good – Pick These!
- How to Remove Acrylic Nails at Home With And Without Acetone


