Affiliate Disclaimer
Some links in this article are affiliate links. We may earn a small commission if you make a purchase through these links, at no extra cost to you. We only recommend products we find useful to our readersShaped & Arch Eyebrows Form The Frame Of Your Eyes!
All women love having perfectly shaped eye-brows. The perfection is reached another level with the trend these days.
Any guesses? You should know that you can get your eyebrows artistically shaped in different styles. Having said, one of which is getting an arched shape eyebrows. Interested to know if you can try it yourself?
If you like to try your hands on self-grooming or want awareness on how to arch your eyebrows then you quickly need to read through this article and follow simple steps to get an arch on your eyebrows.
Get Set! Go!
Read : Know The Details On How To Groom Your Eyebrows And Look Stunning
How To Choose The Right Eyebrow Shape For Your Face
One should always work on getting the details right, that’s how it works in the case of your eyebrows as well.
You should know what eyebrows style is the most suitable for your face shape. Reason being, it totally defines your looks.
1 – Face Shape – Oval
- The best eyebrow shape would be the contoured shape
- If you have this face shape, you are that lucky one because this face shape is pretty
Tip
- Keep your eyebrows thick if you have a big forehead and a long oval face shape.
- Keep your eyebrows slightly thin if you have a small face so that the eyebrows don’t end up dominating your face.
Read: Distinctive Eyebrow Shapes For An Oval Face – Go For The Best!
2 – Face Shape – Round
- The best eyebrow shape based on a round face shape would be arched eye brows
- If you have a round face shape, it means you look cute
Tip
You can make the arch a little high as it looks lovely and makes your face look oval shape.
Read: 3 Types of Eyebrow Shape For Round Face – Perfect Brows!
3 – Face Shape – Diamond
- The best eyebrow shape for a diamond face shape is a linear eyebrow shape
- You have a unique facial structure if you have a diamond face shape
Tip
Arched eyebrows would never be recommended for women who have a diamond face shape as it will look make the face look excessively long.
4 – Face Shape – Heart
- Round arched eyebrow shape is the most suitable for a heart shaped face
- You must be affectionate if you have a heart shaped face
Tip
The best eyebrows style for this shaped face would be curves in the end or curves overall.
Read:12 Fancy Hairstyles For A Heart Shaped Face – Beautiful And Chic To Try On!
5 – Square Face Shape
- Angled shaped brows would be apt for a square shaped face
- People who have this face shape are usually focused
Tip
It is nice to try an arched eyebrows in the case of this face shape as well.
6 – Long Face Shape
- Shorter brows are the most suitable if you got a long face shape
- This face shape says that you over-think
Tip
It is necessary that you give attention to your brows at the end, you could may be make an arch shape
Steps On How To Arch Eyebrows
You will never know how to get an arched eyebrows unless you try it. Before you set started you need to know that this process could slightly prick your skin and you will find if painful, a little pain is worth the shape later.
Here are simple steps you need to follow to learn how to make arched eyebrows, there are different variations to the methods of tweezing. Take a look at all and follow them!
Read: Best Eyebrow Shapes According to Face Shapes
How To Tweeze Your Eyebrows With A Tweezer
STEP 1 – Educate Yourself
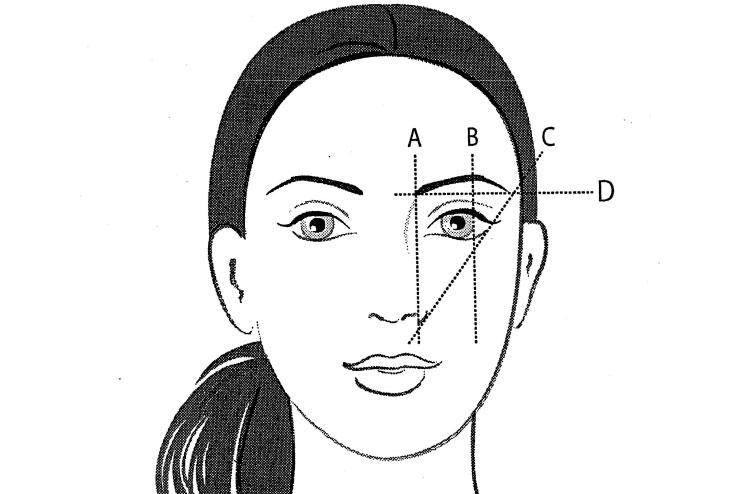
You need to know the essential points on your eyebrows where the extra hair either needs to be taken out or you need to know what to do to fill gaps.
The points would be in the beginning, center and the end of your eyebrows, work on shaping them in order to go further.
STEP 2 – Set Aside What You Need
It is necessary to have all your tools so as to get started. That said, take a look at what you will need
- Eyebrow pencil – To mark points and draw
- Eyebrow scissors – To get rid of the long hair
- Tweezers – To pluck unwanted hair
- Eyebrow brush – To neatly brush the eyebrows
- A small mirror – To know if you are doing it right.
Read: 12 Best Eyebrow Products For Blondes – Get That Snatched Look!
STEP 3 – Comb Your Brows
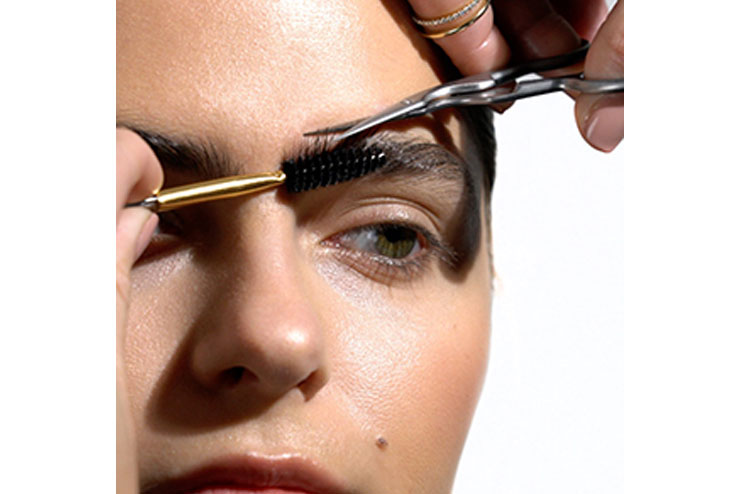
Pick up the eyebrow brush and eyebrow scissors, you will need to trim the extremely long eyebrows
Follow the steps
- Use the eyebrow brush and comb your eyebrows upwards.
- You will now need to trim all the long ends of your eyebrow. Be careful while doing so, don’t end up cutting your eyebrows.
- This step helps you get a clarity on the shape of your eyebrows and clears the excess hair that comes your way.
- Once you cut all the long eyebrows, take your eyebrow brush and comb your eyebrows another time.
STEP 4 – Mark All The Points
You will need to use your eyebrow pencil in this step. It would be great if you could use a white eyebrow pencil so that the pencil marks are not visible for long on your eyebrows.
Take another pencil to aim at where you want to mark the point with your eyebrow pencil. Hold the right beside your nose and keep it straight.
Put your analysis to use, you are sure with the shape of your face. Accordingly, mark the right point at the end of the eyebrow.
Read: 14 Eyebrow Growth Serum You Need To Know Of!!
STEP 5 – Time To Start Tweezing
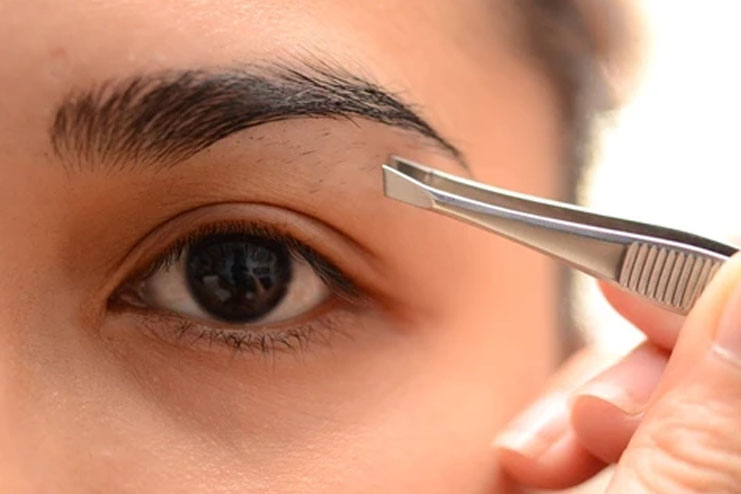
This process can be done easily as you have marked points on your eyebrows and brushed across them. Placing a mirror in front of you can help you get done with this process easily.
Get started with your tweezer!
- Begin with removing the hair in between both your eyebrows.
- Always keep in mind that whenever you tweeze your eyebrows, the excess hair should be pulled from the bottom.
- Avoid abruptly pulling out excess hair, this can cause uneven and untidy eyebrow growth.
- Never over tweeze your eyebrows, keep them as thick as you can.
- While you are tweezing your eyebrows, make sure that you look into the mirror and tweeze around the points you drew.
Thus, this is how you arch your eyebrows with a tweezer.
Read : 5 Steps To Tweeze Your Eyebrows – Pull Out The Little Hair!
STEP 6 – Re-look To Revamp
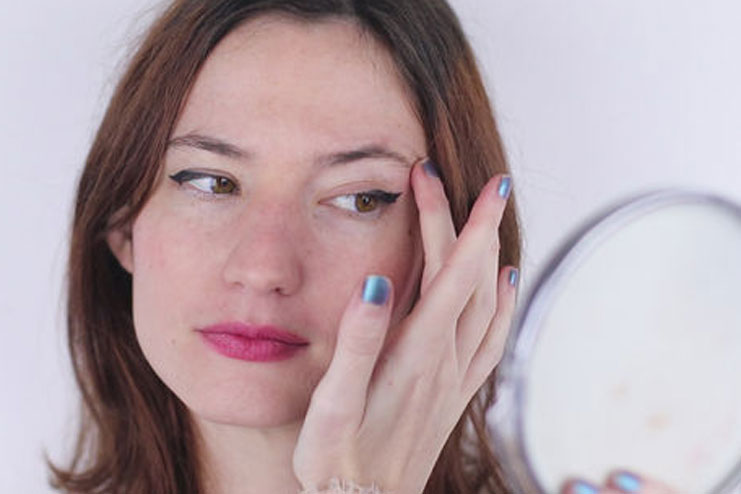
You are almost through if you are done with marking points, trimming your eyebrows and tweezing it.
You need to take a look at your eyebrows to see if you have given it the right shape. While you might have not achieved the right shape, you can make small alterations to your eyebrows.
Few things to keep in mind while you are looking for an arched shape eyebrow
- In the center and beginning, you eyebrows must be thick and neat.
- At the ends there should be an arch that is slightly angled going upward.
Final Word :
Therefore, if you haven’t achieved an arched shape eyebrow, you need to re-tweeze your eyebrows where needed.
If you feel that there is an empty space in between your eyebrows then you can always use an eyebrow pencil to fill that gap.
How to Arch Eyebrows With A Razor
What’s different about arching your eyebrows with a razor is that it gives you the same result like waxing or tweezing would.
However it is a painless mode of getting arched eyebrows. Want to learn the steps to arch eyebrows with a razor? Here you go!
STEP 1 – Keep Things Ready
To achieve arched eyebrows, you will need only two things, a shaving cream and razor.
STEP 2 – Buy The Right Razor
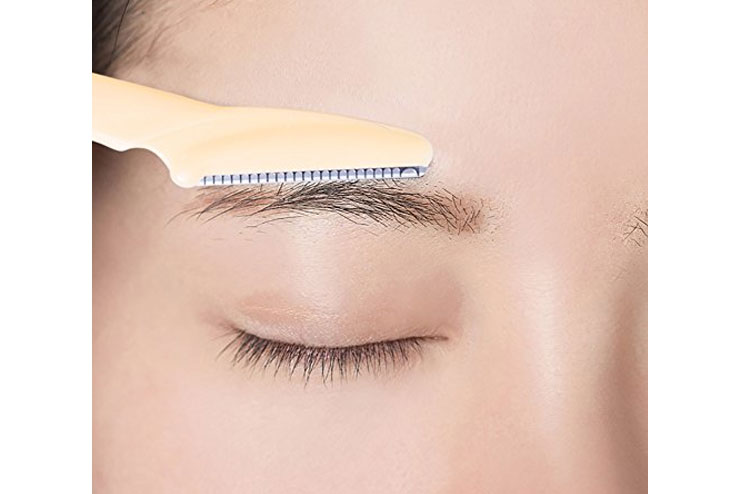
You cannot go using any razor on your eyebrows as it can be harmful around your eye area.
Be safe and do it right, get yourself an eyebrow razor so that you can achieve arched eyebrows.
STEP 3 – Moisturize The Eyebrows
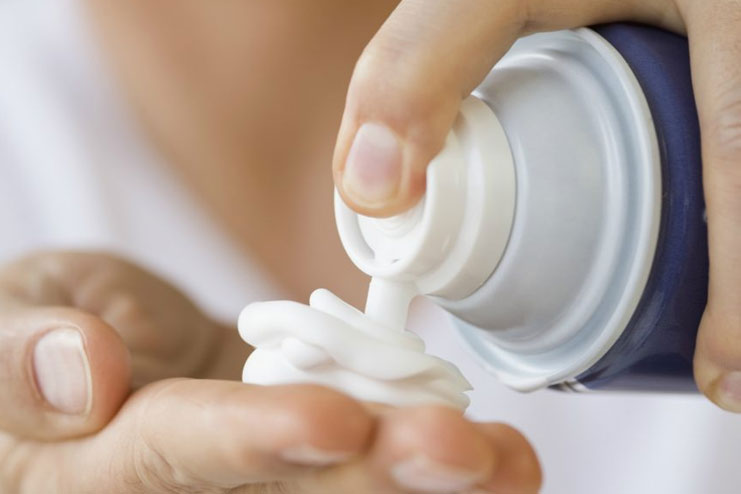
You will need to do a little bit of moisturizing around the skin of your eyebrows so that the razor easily moves on your skin and quickly removes all the unwanted hair.
You will need 3-4 drops of shaving cream, take it in your palm and apply it below and above the skin around your eyebrows.
STEP 3 – Move The Razor
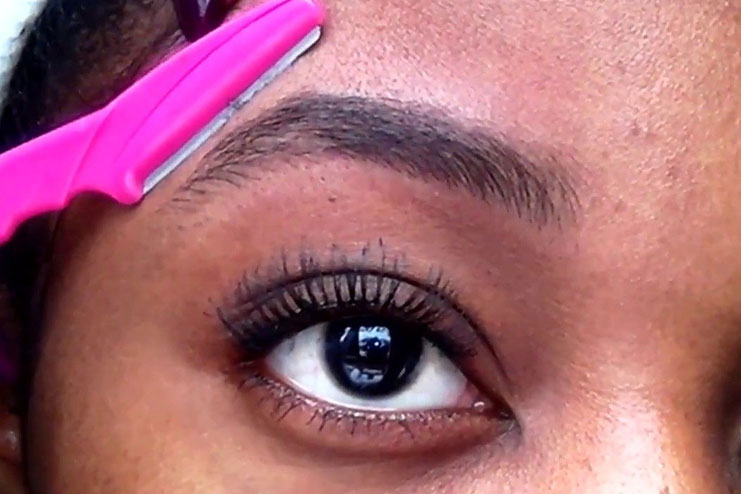
Its time to lift your eyebrow up and move the razor below the eyebrows. Always move the razor from a direction where the hair is growing.
The reason you need to do this is to avoid too shabby eyebrow growth.
You will have to be cautious while moving the razor, if you go into the eyebrows, it will turn out to be a disaster.
To be sure that you are doing it correctly, keep a check after every few seconds of moving the razor around your eyebrows.
When you want to remove the extra hair above your eyebrows, you will need to use your fingers and bring your eyebrow down and move the razor above the eyebrows.
Read: How to Fix Over Plucked Eyebrows! Follow 8 Easy Tricks!
STEP 4 – Wash Your Eyebrows

Once you are done using the razor, you will need to clean the skin around your eyebrows with cold water so that all the little hair is brushed out.
Once you are done washing your face, leave your eyebrows as it is, avoid using creams further because it might not suit your skin.
How to Arch Eyebrows With A Pencil
Basically, this procedure of forming arched eyebrows is different, it is more or less accentuating the eyebrows. Take a look at the steps on how to use a pencil and form arched eyebrows
STEP 1 – Do You Have It All?
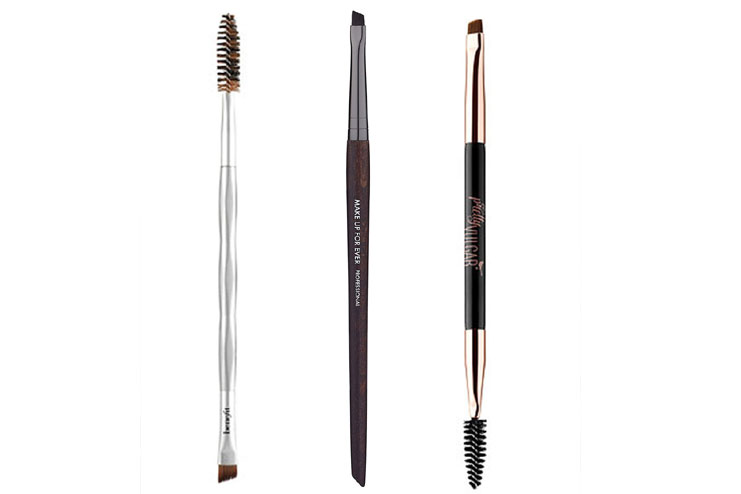
In this method, you will need a good eyebrow pencil with different brushes. It will be an art, you have to be as graceful as possible. You will need
- Eyebrow pencil
- Angled brush
- Spoolie brush
- Brow gel
- Mascara brush
- Powder
Read: Makeup Essential Kit – 23 Products You Must Have!
STEP 2 – Use The Eyebrow Pencil
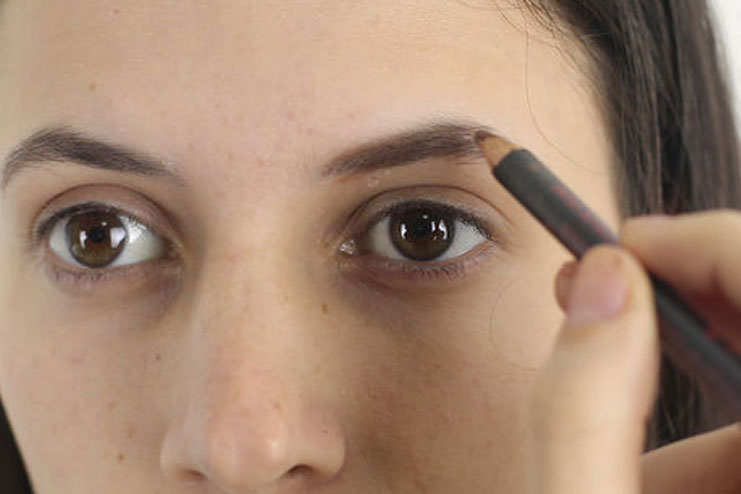
First things first, sharpen your eyebrow pencil and draw light strokes of the pencil on your eyebrows. Be gentle and don’t draw the eyebrow pencil too dark on your eyebrows.
You can slightly focus on covering the scanty areas of the eyebrows with light strokes of the eyebrow pencil.
Read: 15 Best Eyebrow Pencil – Shape It And Fill It!
STEP 3 – Brush Your Brows With A Spoolie Brush
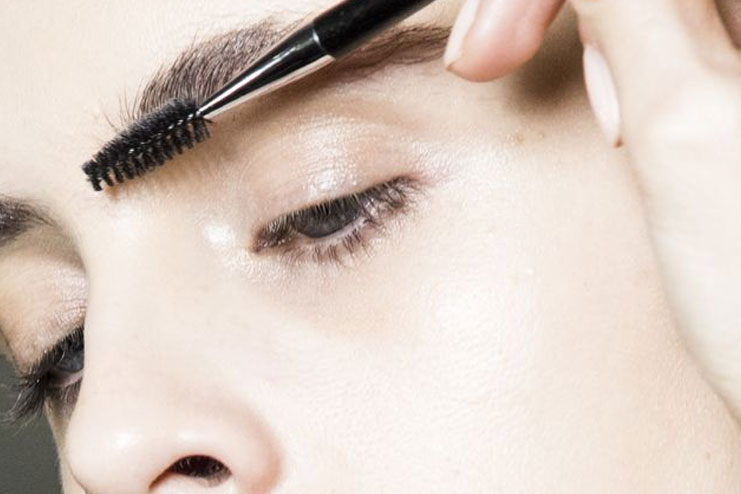
Since you have drawn strokes of the eyebrow pencil on your eyebrows, you need to use a spoolie brush to spread it well all across the eyebrows.
Start from where your eyebrows begin and continue brushing your brows in an arched position towards the ends. This will help in giving that perfect arched shape to your eyebrows.
STEP 4 – Applying A Gel Helps
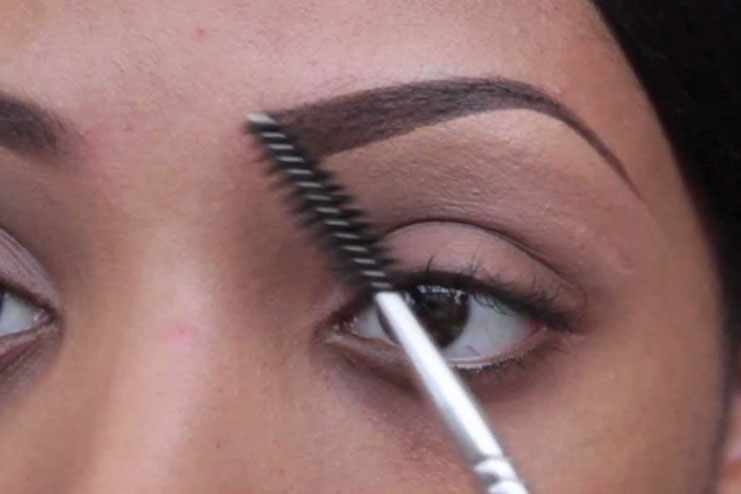
Once you are done drawing strokes on your eyebrows and brushing them well, you can use a gel to sustain that pencil arched shape on your eyebrows.
When you begin, always keep a piece of cotton handy, this helps with cleaning the excess gel that drips out of the eyebrows.
What you need to do is, dip the mascara brush in a gel, gently move the brush on your brows, repeat this process in an upward direction so that gel stays well on your eyebrows and allows the arched shape to stay on your eyebrows.
Read: Celebrities With Most Beautiful Eyebrows In The World
STEP 5 – Stroke A Blender Brush On Your Eyebrows
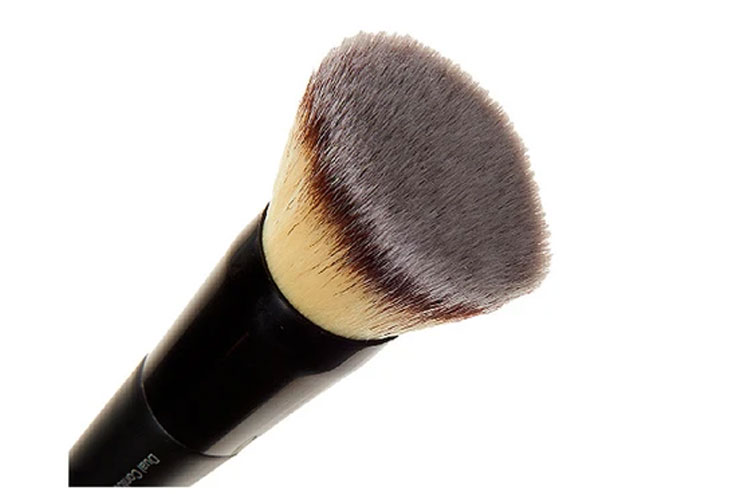
You have achieved everything you needed to. Now is the time to make your eyebrows look natural, after the gel application.
Take a thick brush, dip it in powder and stroke it above and around your eyebrows. Make sure to move it upwards.
STEP 6 – Stroke An Angled Brush
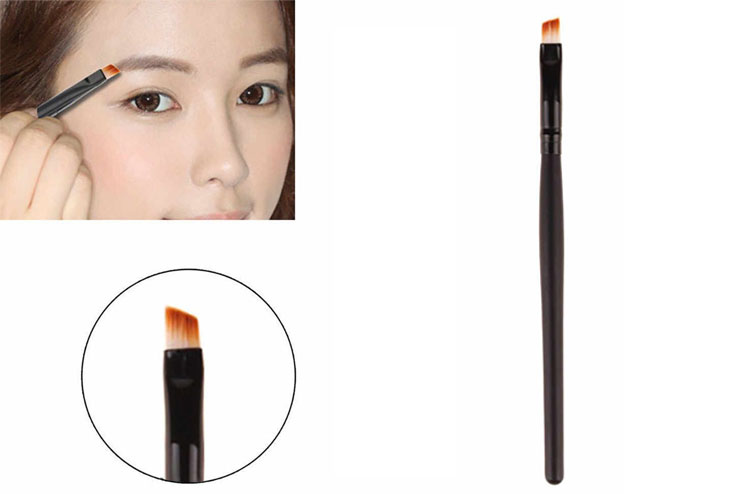
In the end you can use an angled brush for an arched shape on your eyebrows.
An angle brush can do justice to this role as it it finely designed and this is necessary in order to give your eyebrows an arched shape in the end.
Dip the angled brush in a powder and then stroke it upwards on your eyebrows, if you want the arch to be well defined, then make sure to give your eyebrows a good stroke towards the end of your eyebrows.
STEP 7 – Give It A Final Touch
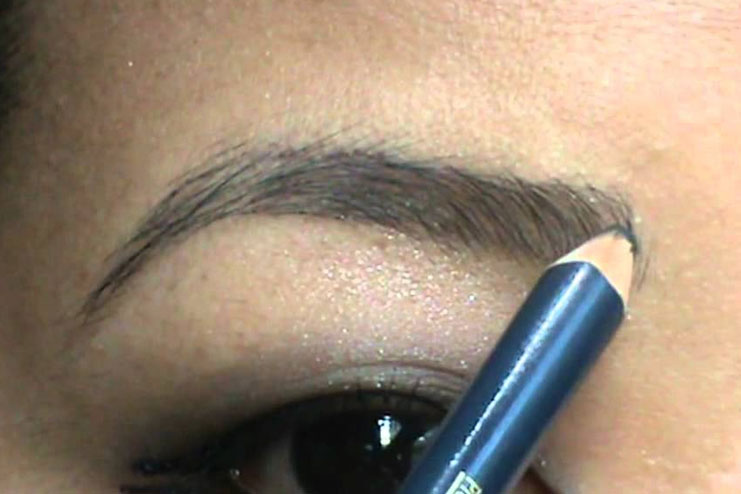
After you are done drawing the eye pencil, applying a gel and stroking your eyebrows with different brushes, in the end you will need to use your eyebrow pencil one last time to give yourself that final arched shape on your eyebrows.
All in all, your desire to have perfect arched eyebrows is achievable. Most of all, you can experiment all of it on your own without having to go to a salon or specialist to get it done.
If you have all the tools and get a hang of the technique, you will be able to nail it.
To summarize it another time, you have three ways of getting arch shaped eyebrows, with the help of tweezers, a razor and through an eyebrow pencil.


