Affiliate Disclaimer
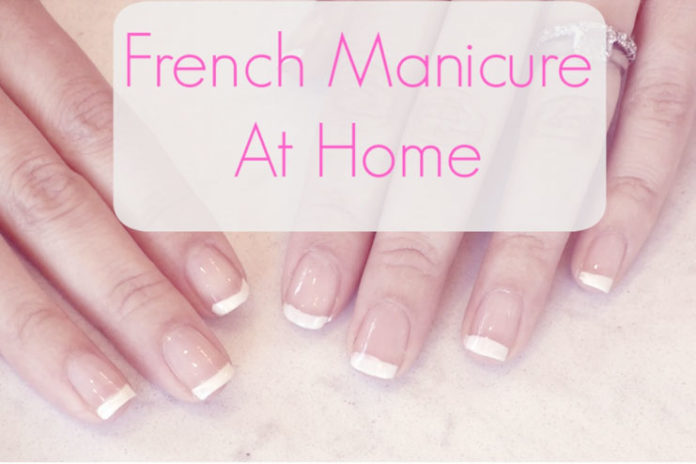
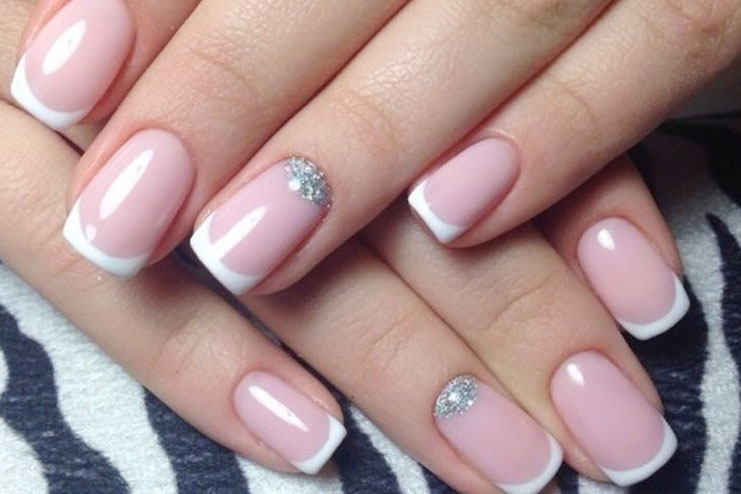
Some links in this article are affiliate links. We may earn a small commission if you make a purchase through these links, at no extra cost to you. We only recommend products we find useful to our readersFrench manicure makes a wonderful style statement and getting it done at a professional nail salon month on month can be pricey. So we have the perfect DIY French manicure at home, to help you stay in style and keep your nails prim and proper. This is easy and quick, and the results are just like out of a professional nail salon. The classic and elegant looking French manicure is not only stylish but also extremely neat for your nails. Most of the French manicure from salon also lasts a few weeks, and thus retouching or care at home needs to be done to maintain them for long. Similarly the DIY French manicure at home also requires the same care and maintenance.
[Read: Beauty hacks for repairing damaged nails]
Perfect DIY French manicure at home; steps:
1- Prep up your nails:
– Clean your nails and wash your hands
– Remove any old nail paint using a remover, and clean it well
– Remove cuticles by pressing them behind
– Don’t use acetone nail paint remover as it dries and damages your nails
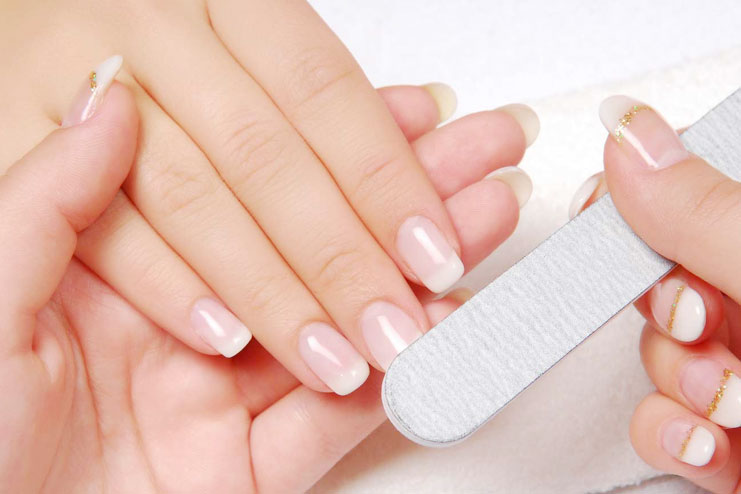
– Trim your nails to optimal length
– Keep them a little longer as French manicure looks better on long nails
– Shape your nails in round or square shape and grab a nail filer to get working.
– Soak your cuticles in warm water and push them back using orange wood stick
2- Buff your nails:
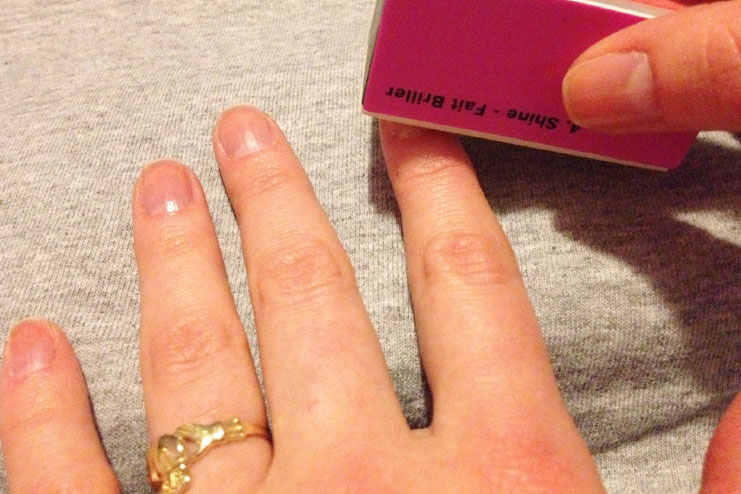
Buff the top layer of your nail for nail paint application. Then apply any thick moisturizer or cuticle oil onto your nails. To moisturize the nails well.
[Read: Short nail art designs]
3- Apply the base coat:
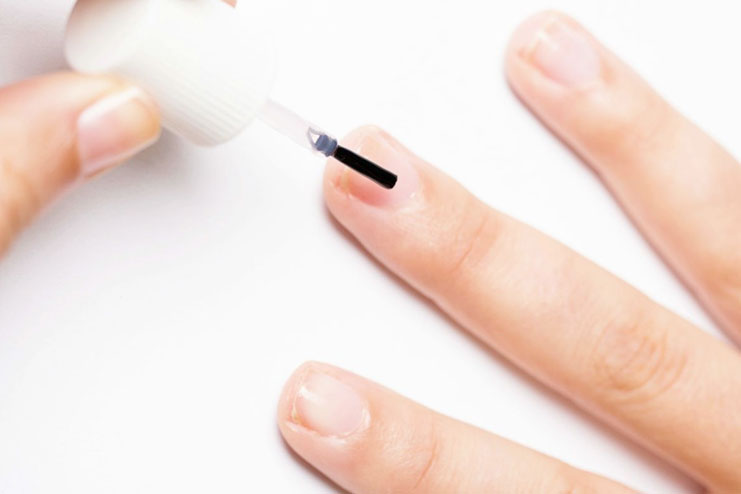
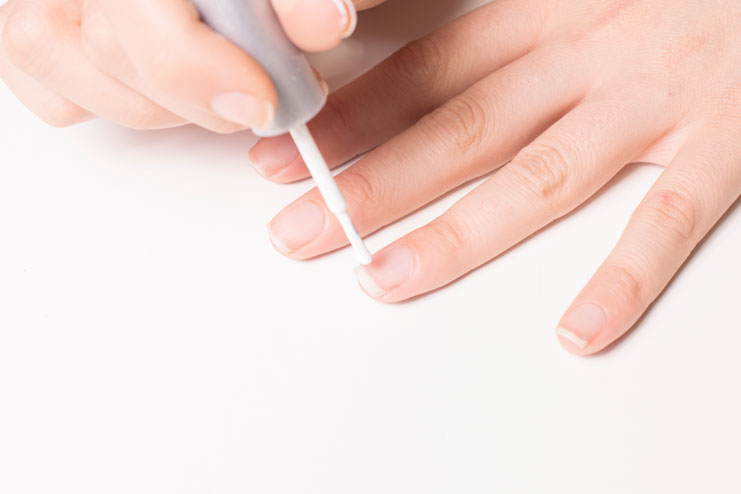
The base coat of French manicure is usually pale pink. Start by painting stripe down from centre of your nail and proceed on sides to finish the nail completely. Paint from cuticle to outwards, brush must be angled forward.
– You can opt for traditional pale pink or cream or white for base color
– Alternately you can opt for more brighter shades for striking impacts.
– Let the base dry thoroughly and then apply a second coat, do not apply when the base coat is wet
4- Painting tips white:
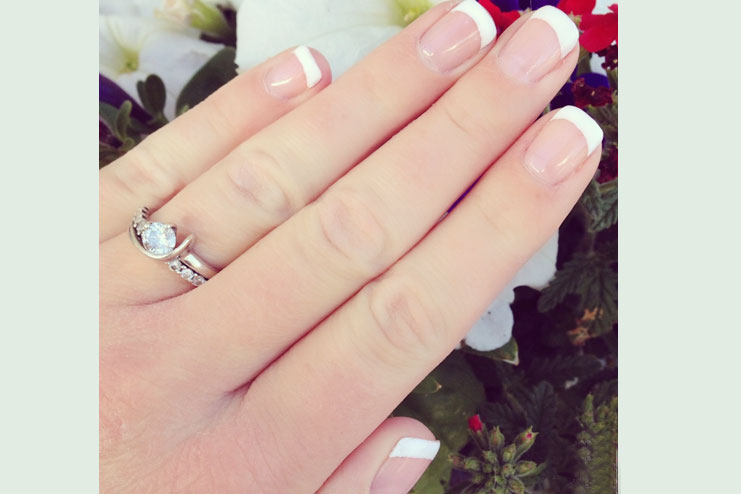
– Now paint your nail tips white using a good white nail paint.
– Keep hands firm to paint white crescents on your nails.
– Let the first coat of white crescent dry and then apply a second coat
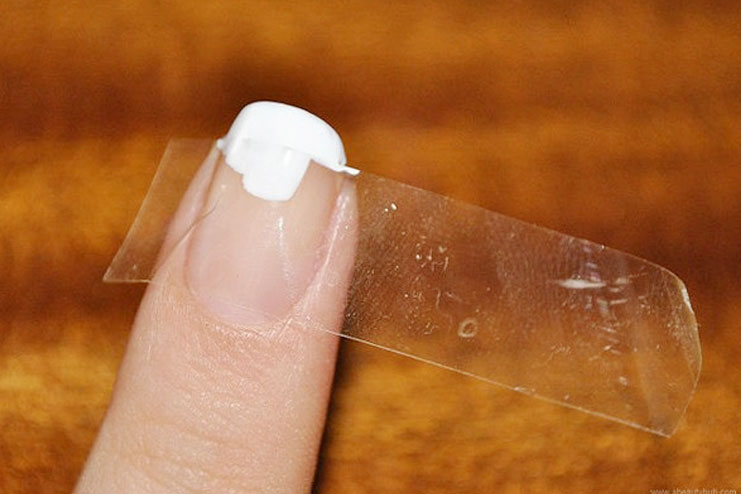
– Alternately you can use crescent shaped artificial nail with glue
– Or use painters tape to cut out the glue for the size you wish
– Use nail paint remover pen to touch up and clean the area
[Read: Get rid of yellow nails at home]
5- Lock the nail with clear paint:
Apply a layer of clear nail paint to lock the color you just painted. This top coat will help the French manicure to last longer and stay the same. Also let it dry thoroughly
How to get the perfect tips for DIY French manicure at home:
1- Use scotch tape:
– For people who are not very comfortable making a perfect arch, use scotch tapes
– Just cut a crescent on the scotch tape
– And glue it on the nail so that it covers the most bottom part
– Now put the white nail paint on the top where scotch tape leaves just the perfect arch to be colored
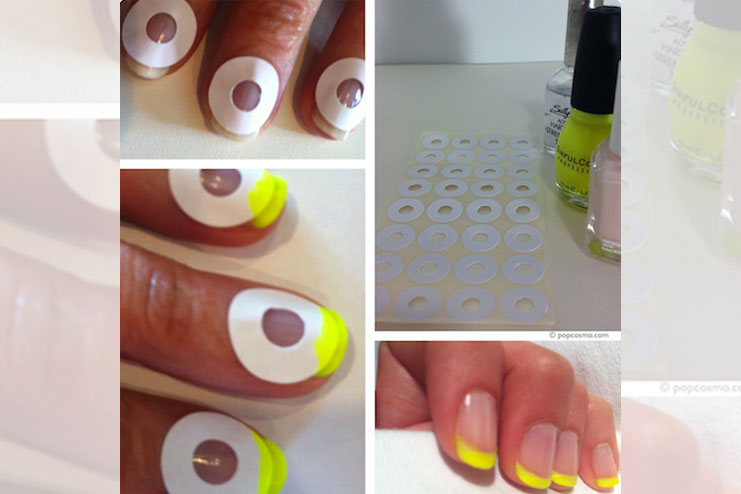
2- Use moleskin pads:
– Moleskin pads are used for blisters on your feet.
– They are perfectly rounded for wonderful crescent tips without wiggly edges.
– After finishing nail color put moleskin pad such that only the crescent shaped tip is outside.
– Paint white color on this and when it dries just peel off the moleskin pad.
– White tips must also be perfectly rounded
[Read: Almond shaped nail designs]
3- Use white out instead of white nail polish and finish off with a sealant coating. No one will know its white out and it will give a perfect shape too. Application sponge for white out is a square, it makes it easy to dab the the white color in perfect line across the nail tip.
How to make your DIY French manicure at home last longer:
1- Apply the transparent thin coat of nail paint on French manicure every day to keep the nails shiny
2- These thin coats will prevent the air bubbles that can cause smearing and chipping
3- Wait for base coat to dry properly and the apply the next coat
4- Each coat will act as a glue to keep your nail polish intact
5- For nail polish chipped off areas fill with white nail polish and redo the affected area with clear coat
6- Do not apply the lotions or creams on the nails or french manicure as they make the shiny polish dull. Just apply over the skin around the nails
7- While wearing sneakers protect your French manicured toes by putting on socks or stockings first
8- This will keep the white tips intact and prevent them from chipping
9- Always carry white nail paint in your purse, or use correction fluid when you don’t have white nail paint
10- Do not wash the dishes and clothes and keep your nails protected from soap also use gloves. Do not air dry the hands rather immediately wipe with a clean cloth to prevent loosening of nail tips.
[Recommended: Best Types of Manicure, We have to do for Perfect Appealing Nails]
The above compilation on Perfect DIY French manicure at home is to help you keep the nails stylish and affordable. And nourish them with home made manicure and techniques to prevent any harsh chemicals on them. It gives the most classic look to the nails, and is extremely popular. Read more on Nail Art here. French manicure looks feminine and elegant and thus keeps up your glamorous quotient with these easy and quick tips to proceed at home. Check with your salon specialist for more detailed application. Use good quality French manicure kit
Share ahead and keep writing us, we love hearing from you!
Minu Manisha


